1. Short Overview:
Sparkle:
Base Stats: HP = 1397 DEF = 485 ATK = 524 SPD = 101
Info:
Sparkle is a Harmony Path character that is able to advance forward another ally’s action with her skill, while providing a strong Crit. DMG to the ally and a medium DMG% buff as well as a small ATK% buff to all allies.
One of the key points to note is her Ultimate, as it’s able to make Sparkle effectively be skill point-positive over 3 turns with its somewhat cheap cost, even when constantly using your skill.
Kit TL;DR:
- Skill: Increases Crit. DMG of an ally by 24% of Sparkle’s Crit. DMG + a flat 45% for 1 turn. Advances forward the target ally by 50%.
- Talent: Maximum Skill Points increases by 2, from 5 to 7, and whenever an ally consumes a Skill Point they get a 6% DMG Bonus buff, stacking up to 3 times.
- Ultimate: Recovers 4 Skill Points and provides allies with ‘Cipher’. Cipher increases the DMG Bonus of Sparkles Talent by 10% for each stack, for a total of 48% DMG Bonus.
- Technique: In the Over-world, allies gain ‘Misdirect’ for 20 seconds and cannot be spotted by enemies At the start of battle, 3 Skill Points are recovered.
- Ascension-locked Bonus Abilities: A2: Basic Attack regenerates 10 additional energy, the same amount of energy as the skill. A4: Skill’s Crit. DMG buff now lasts until the start of the ally’s second turn. A6: 15% ATK for all allies. For every 1/2/3 quantum type allies on the team including Sparkle, Quantum-Type allies’ ATK increases by an additional 5%/15%/30%
- Stat Bonus Traces: 24% Crit. DMG, 28% HP, 18% Effect RES
She is best utilized in team compositions that make use of every part of her kit, which often times are Hypercarry teams1.
2. How to Play
Skill Points
Skill Point Economy:
Sparkle’s Ultimate regenerates enough skill points so that Sparkle can be skill point positive over a 3 turn rotation. Because of that, you pretty much just want to use it whenever you get it. Make sure to use Sparkle’s Ultimate before you use Sparkle’s Skill if you get Sparkle’s Ultimate right before Sparkle’s turn or during it, so that you don’t waste the skill’s Energy Generation.
Action Forward
Now, for characters that can Advance Forward other units’ action/turn like Sparkle can, what you will want to know and watch out for is:
- When it is best to use the AF ability
- What ally to target with the ability
- What SPD to build on your Action Advancer (in this case Sparkle) and Damage Dealer, to most efficiently make use of their AF amount.
Sparkle’s AF comes from her Skill, so it’s always best to just use it whenever it’s Sparkle’s turn as her basic attack doesn’t do much of anything.
The ally you will want to target will 99.99% of the time be your Damage Dealer. Those 0.01% of cases include times when:
- Enemies are somewhat low HP, but not low enough to kill them without Robin’s ultimate being active and Sparkle’s turn is up, you would want to use Sparkle’s skill on Robin to have use her Ultimate and end the battle quicker, potentially saving a cycle.
- When you want to advance forward a Robin at the start of battle so that she gains a second turn before enemies can act and thus activate her Ultimate. That is so that by the time the enemies hit your allies, buffs will be present for characters with Counter Attacks to use.
The Speed you will want to build on your Sparkle will basically be that of the highest speed break point you can achieve, as Sparkle’s Action Forward amount is only 50%. Compared to a unit with 100% Action Forward or immediate action, you are wasting AV waiting for the Damage dealer to act first before Sparkle can AF them; on top of having that first turn NOT buffed by Sparkle.
- For most people, 160 SPD will be somewhat achievable and is a good speed break point to aim for.
We recommend that you check the Speed Tuning section in case that you’re able to aim for one of the break points listed here, instead of just aiming for 160. View information on how SPD and the Turn-Based Combat in HSR works here.
3. RGM Relevancy:
Memory of Chaos, Pure Fiction and Apocalyptic Shadow
RGM Notes:
All Harmony path characters’ relevancy in end-game content will depend on the teams they can effectively fit in. A lot more often than not, the teams they can fit in include teams for all 3 game modes. This is another reason as to why their value for an account is so high.
4. Team Compositions & Synergies:
Sparkle works best when your damage dealer doesn’t want to build any speed and are able to fully make use of her buffs and skill point positive-ness.
Sparkle’s Action Forward is only 50%, which doesn’t allow her to be used like Bronya by giving a unit a second turn. Instead, she can act as the damage dealer’s speed, bringing her up to her action value.
Where to use Sparkle?
Units that Sparkle synergizes with: Dan Heng • Imbibitor Lunae and Qingque. Sparkle provides them with valuable buffs and with skill points for them to use with their skill.
Damage Dealers used with Sparkle: Seele, Acheron, Argenti, Jing Yuan, Clara, Yunli, Jade, Xueyi, Herta and Himeko. In some rare cases, she can also be used with Feixiao. She can also be used with Blade, Dr. Ratio and Feixiao, but isn’t advised to unless you don’t have the other better supports that these units can use or they aren’t available as they are currently being used on the other team.
Team Compositions
We will be giving you some examples of good and at least somewhat comfortable teams that you can use with Sparkle. For more details on how to play the teams, please check out the Damage Dealer’s guide.
Dan Heng • IL | Pela / Robin  | Sparkle | Sustain  |
|---|
Yunli | Robin/Tingyun  | Sparkle | Sustain |
|---|
Seele / Jade  | Robin | Sparkle | Sustain  |
|---|
5. Trace Levelling Priority
Skill>Ultimate>Talent
All Ascension-locked Abilities Traces are important and must be unlocked.
- Unlock Crit. DMG stat bonus traces first, but eventually all.
- Don’t level up the basic attack.
6. Light Cone Rankings
1. Earthly Escapade
Sparkle’s Signature 5★ Light Cone
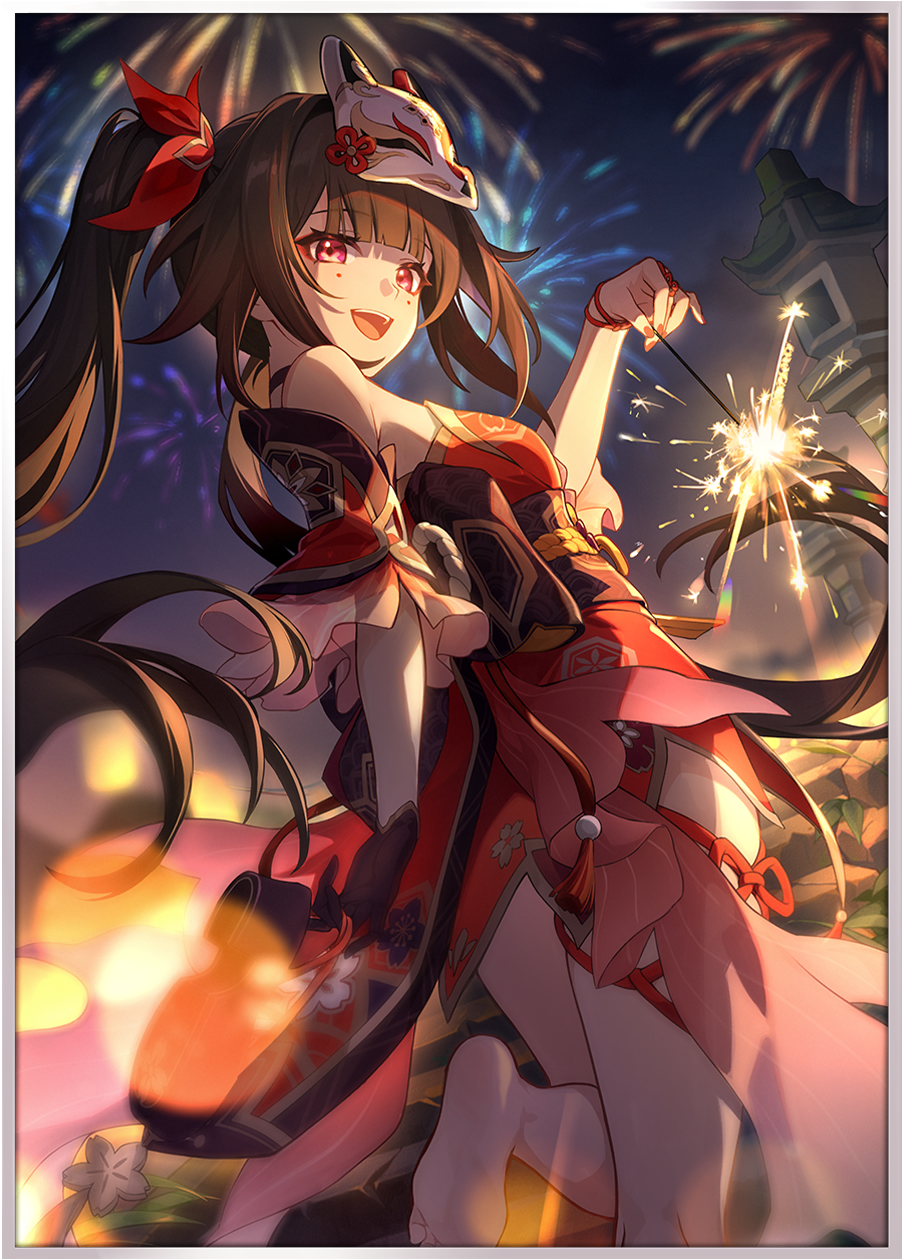 This Signature LC might seem incredible at first, but in actuality it’s only a small upgrade over other options, unless the team you’re using Sparkle in is one where damage is primarily dealt out-side Damage Dealers’ turn.
Light Cone Effect
The wearer’s Crit. DMG is increased by 32% At the start of battle as well as for every 4 skill points the wearer recovers, all allies’ Crit. Rate and Crit. DMG gets increased by 10% and 28% respectively, for 4 turns
2. But the Battle Isn’t Over
Bronya’s Signature 5★ Light Cone
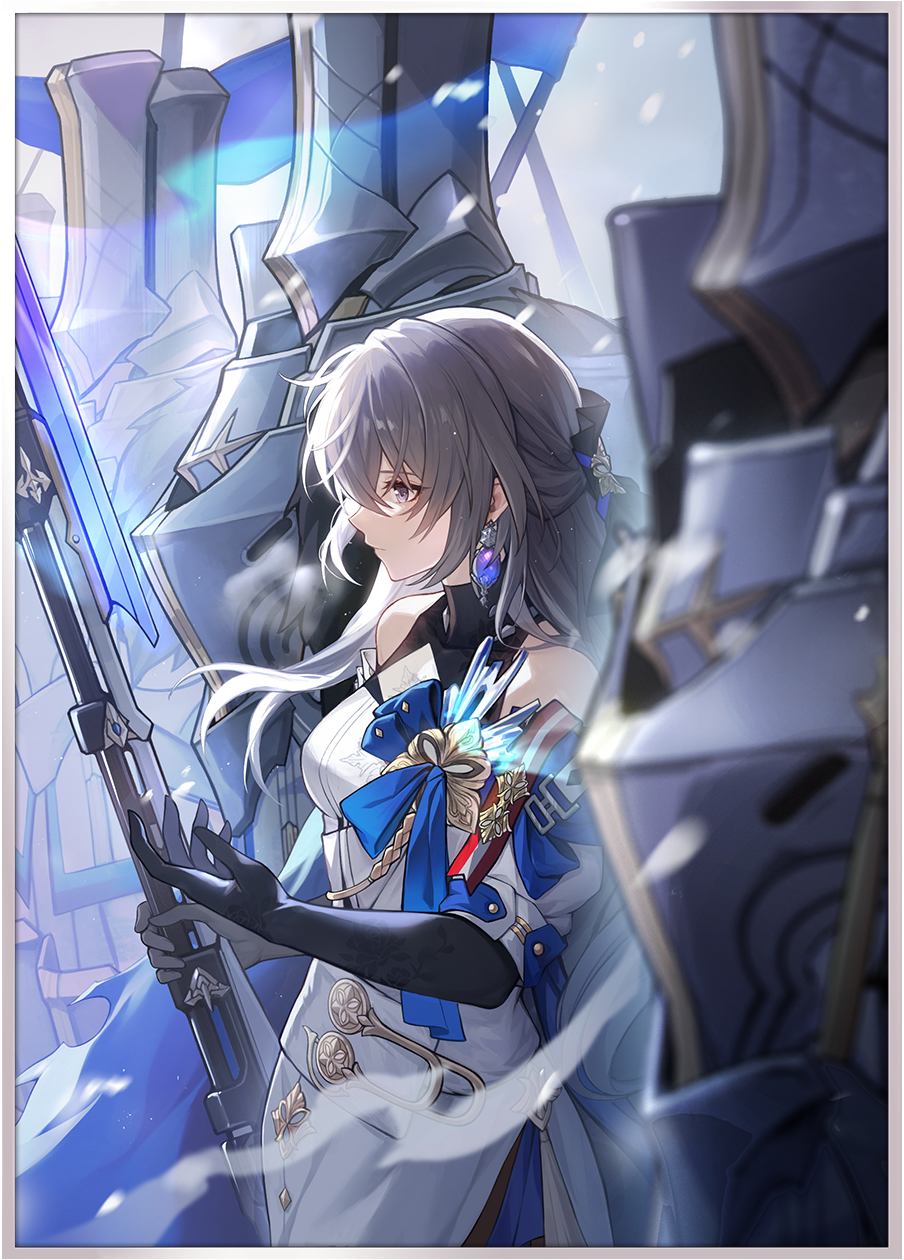
Light Cone Effect
The Wearer’s ERR is increased by 10%. The wearer’s first Ultimate and every other one following it regenerates 1 Skill Point for the team. When using skill, the target ally gets buffed with 30% Damage Bonus for 1 turn.
The ERR is useless in 99.9% of cases. Extra SP Generation is welcome for some teams and DMG Bonus buff is decent, although it only lasts for 1 turn, making it not apply for Follow-up Attacks.
3. Dance! Dance! Dance!
Gacha 4★ Light Cone

Light Cone Effect
Advances forward all allies’ action by 16-24% when the wearer uses their Ultimate.
Action Forward is useful if you build enough speed to achieve a higher break point together with it, but less so if you don’t. Sparkle can consistently proc this Light Cone’s effect, as she can achieve a 3 Turn Ultimate rotation by just using ERR main stat Link Rope.
4. Past and Future
Free 4★ Light Cone
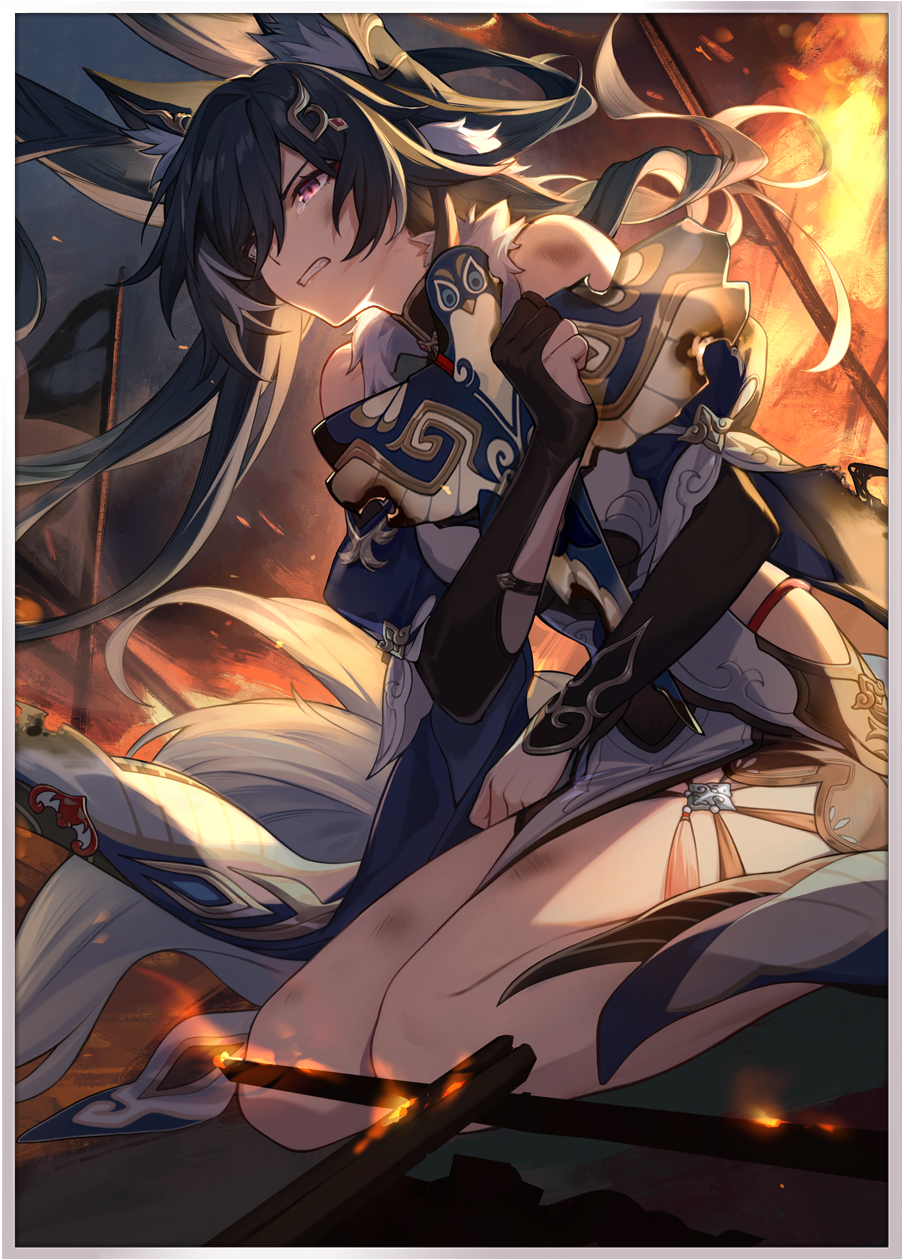
Light Cone Effect
After using Skill on a target ally, buffs them with 16-32% Damage Bonus for 1 turn.
DMG Bonus buff. It’s not that big, but definitely helps. If you’re using a Quantum Element Damage Dealer, it is likely better for you to use Planetary Rendezvous instead, as that Light Cone’s effect is permanent.
5. Planetary Rendezvous
Gacha 4★ Light Cone
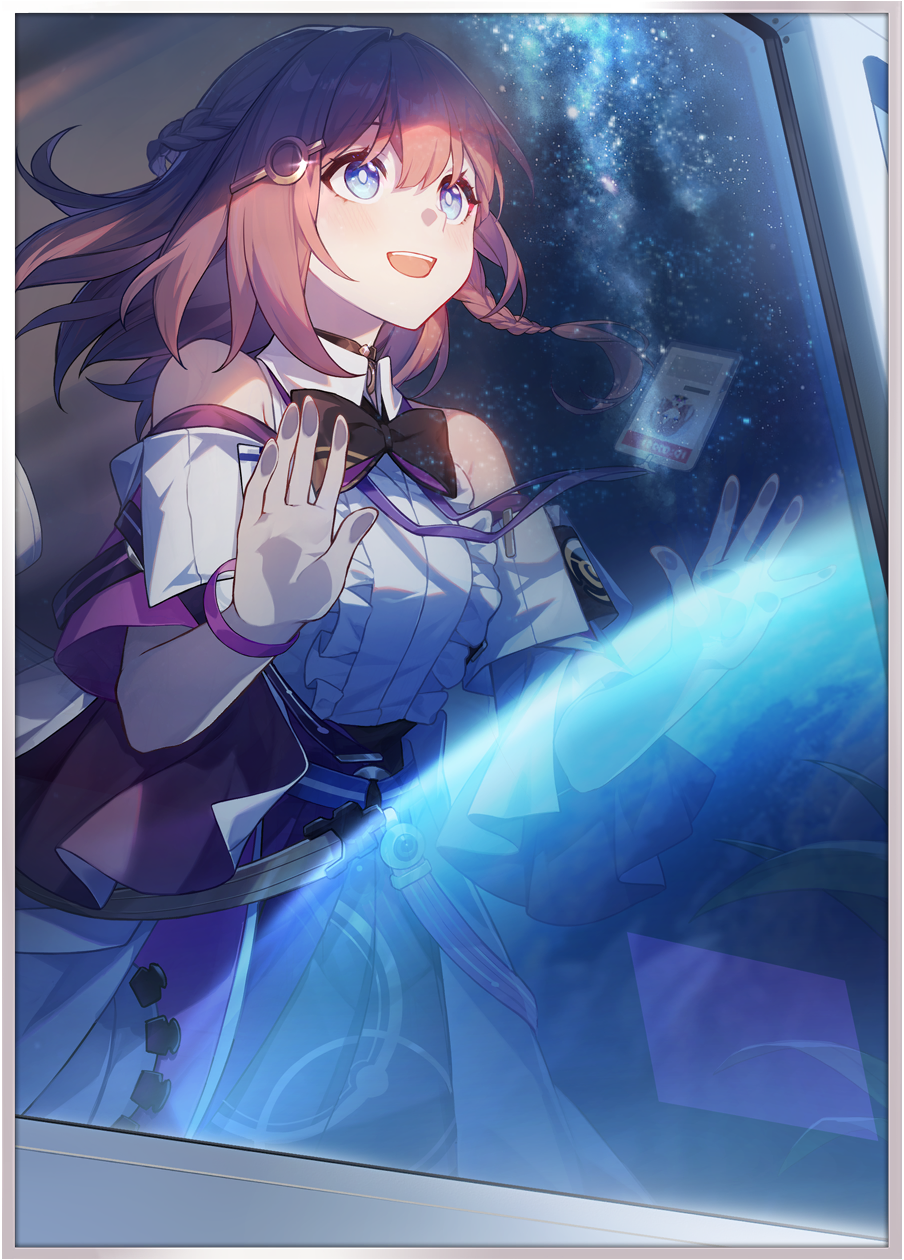
Light Cone Effect
Allies of the same Element Type as the wearer get buffed with 12-24% DMG Bonus permanently.
Only use with a Quantum Element Damage Dealer.
Permanent DMG Bonus buff, making it active for all damage types that the wearer can deal. Be it their Skill, Ultimate, Follow-up Attack, DoT or even their Summon.
7. Relic Main and Subsidiary Stats
Main Stats
Boots: SPD
Body: Crit. DMG%
Sphere: HP% / DEF%
Link Rope: Energy Regeneration Rate%
Subsidiary Stats Priority
- SPD Until you hit your desired break point.
- Crit. DMG% As much as possible.
- HP%/DEF%
- Effect Resistance%
8. Relic and Planar Ornament Sets
Relic Sets
Eagle of Twilight Line
Relic 4-Pc Set Effect
When using the Ultimate, wearer’s Action is Forwarded by 24%.
This is extremely useful for hitting speed break points, but is otherwise still a nice addition as it will allow Sparkle to have more turns, which translates into more damage dealer turns and more damage.
Sacerdos’ Relived Ordeal
Relic Set Effects
2-Pc Set Effect: Increases SPD by 6%. 4-Pc Set Effect: When using Skill or Ultimate on one ally target, increases the ability target’s CRIT DMG by 18%, lasting for 2 turns. This effect can stack up to 2 times.
This set is useful in amplifying your damage dealer’s damage a good amount and helping your Sparkle achieve speed break points easier. Sparkle can stack up the set’s effect, by not letting the damage dealer take a turn out-side of those given by Sparkle and due to its turn duration resetting with every activation.
TL;DR
Eagle is best when trying to achieve specific speed tuning breakpoints, 3 Turns in 0 cycle (effectively 200 SPD) for example, while Sacerdos is the best general purpose set increasing Sparkle’s damage amplification.
Planar Ornament Sets
The difference in buffing capability isn’t that big and Sparkle doesn’t care for extra ERR, so just use the set that you happened to get the best stats on while grinding for other sets like Bananamusement or Rutilant Arena.
1. Lushaka, the Sunken Seas
Increases the wearer’s ERR by 5% and increases the ATK of the first character in the party line-up (besides the wearer) by 12%. Amplifies a single ally’s damage the most. Other set effects can be better.
2. Broken Keel
All allies’ Crit. DMG is increased by 10% if the wearer’s Effect RES ≥ 30%. Increases the wearer’s Effect RES by 10%. Amplifies the entire team’s damage the most, assuming allies scale on CRIT. Make sure to get Effect Resistance sub-stats to proc its effect.
3. Fleet of the Ageless
All allies’ ATK is increased by 8% ATK when the wearer’s SPD is ≥ 120. The wearer’s HP is increased by 12%. Generally the best set to use on a support that you use in a DoT team, but Sparkle isn’t a support for that type of team. HP buff is nice. ATK buff is small, so it’s likely better to use whatever relics you have with good stats instead of forcing yourself to use this set. Efficient set to grind for new players.
4. Sprightly Vonwacq
At the start of battle, wearer’s Action is Forwarded by 40%. The wearer’s ERR is increased by 5%. Action Forward allows Sparkle to get extra turns. Can be a bad set to use if you have allies that need to act before the wearer (for example, to give buffs like Tingyun). This can be worked around if you increase those/that allies’/ally’s SPD, but you might not be able to or is inconvenient to.
5. Penacony, Land of the Dreams
Allies of the same Element Type as the wearer have their DMG Bonus increased by 10%. This effect does not apply to the wearer. The wearer’s ERR is increased by 5%.
- Only use with a quantum element damage dealer.
- Usable only if you can proc its DMG Bonus effect.
- Generally still worse than Broken Keel.
6. Forge of the Kalpagni Lantern
The wearer’s SPD is increased by 6%. The second affect is inapplicable and useless.
Useful for hitting SPD Break Points. Otherwise a useless set.
9. Stat Goals
- 200+ Crit. DMG. If you have her signature light cone, aim for 250+ Crit. DMG.
- Try to effectively hit 200 SPD with one of the break points here Speed Tuning.
If you can’t achieve that, try hitting 153.9 Speed
OR138.5 SPDOR169.3 SPD.
With HP Main Stat Sphere:
- If you’re using a 4★ Light Cone, aim for 4400+ HP and 1100+ DEF.
- If you’re using a 5★ Light Cone, aim for 5000+ HP and 1200+ DEF instead.
With DEF Main Stat Sphere:
- If you’re using a 4★ Light Cone, aim for 3500+ HP and 1500+ DEF.
- If you’re using a 5★ Light Cone, aim for 4000+ HP and 1700+ DEF instead.
Notes:
-
169.3, 153.9 and 138.5 SPD are speed break points, check out what they are useful for here and check out character’s decimal speed here
-
If you have any teammates that permanently buff speed (such as Ruan Mei and E1 Huohuo), make sure to lower your speed accordingly as more speed than required for a break point is rarely useful.
- If you have sources of action advance, such as DDD or 4 Piece eagle, and wish to know how much speed you need: please consult the relevant breakpoints.
10. Speed Tuning
Here are some breakpoints for effective 200 SPD (3 Turn) Sparkle**
If not listed here consult Relevant breakpoint list. If not listed in neither of the locations, we encourage that you calculate it yourself. You can check your character’s SPD numbers with 3 decimals by holding your cursor over the number (or holding your finger over it on mobile) at enka.network.
- 189.9: with Ruan Mei (RM)
- 184: with S5 Dance! Dance! Dance! (DDD)
- 183.334: with 4-Pc Eagle of Twilight Line (Eagle)
- 177.78: with E1 HH + RM
- 173.9: with S5 DDD + RM
- 173.234: with Eagle + RM
- 171.88: with S5 DDD + HH
- 171.214: with Eagle + HH
- 168: with 2 procs of S5 DDD (Needs a second ally with S5 DDD)
- 167.334: with Eagle + S5 DDD
- 157.234: with Eagle + S5 DDD + RM
- 155.114: with Eagle + S5 DDD + HH
- 145.114: with Eagle + S5 DDD + E1 HH + RM
- 129.114: with Eagle + 2 procs of S5 DDD + E1 HH + RM (Needs a second ally with S5 DDD)
For Break Points with 1 proc of S5 DDD, every superimposition you're missing adds around 1.4 SPD extra speed that you have to build.
11. Eidolons Run-down
Eidolon 1
The 'Cipher' effect given by the Ultimate lasts for 1 more turn
and all allies' ATK is increased by 40% while they hold
'Cipher'.
ATK Buff is decent and the Cipher turn duration extension allows the DMG Bonus increase effect from the Ultimate effectively be permanent after the first Ultimate usage.
Eidolon 2
Every stack of the Talent now additionally allows allies to
ignore 8% of the enemy's DEF when attacking, stacking up to 3
times for a total of 24% DEF Ignore.
DEF Ignore and DEF Shred is always welcome and is a good damage increase, even more so the more of it you stack, up to 100%. ~15% DMG Increase to ~18% DMG Increase (0 DEF Shred vs 76% DEF Shred present) Great eidolon that makes Sparkle’s damage amplification feel quite significant.
Eidolon 4
The ultimate recovers 1 extra Skill Point and Max Skill Points
are increased by 1 additional skill point, from 7 to 8.
Only useful for super skill point-intensive teams such as Dan Heng Imbibitor • Lunae’s and Qingque’s.
Eidolon 6
The Crit. DMG buff provided by the skill is increased by an
additional 30% of Sparkle's Crit. DMG and its effect now
extends to all allies with 'Cipher'.
As long as 1 ally holds Cipher, its effect will be spread to
all other teammates with 'Cipher'.
This Eidolon makes Sparkle into a great support for teams with 2 or even 3 Damage Dealers that scale on CRIT, but doesn’t do all that much in teams with only 1 Damage Dealer.
We hope you found this guide helpful, you can check out more guides, information and data on our home page. Also, please feel free to leave any feedback or log any issue on the Github, as we are still a developmental project and would greatly appreciate your help.
Footnotes
-
Hypercarry Team: A Team Composition made up of either: 1 Damage Dealer, 2 Supports and 1 Sustain characters or 1 Damage Dealer and 3 Supports, where the Damage Dealer makes up ~90% of the team’s damage output. ↩